ArgoCD is a Continuous Delivery tool designed for Kubernetes, This will be used to take the generated YAML file from the CI process and apply it to two clusters.
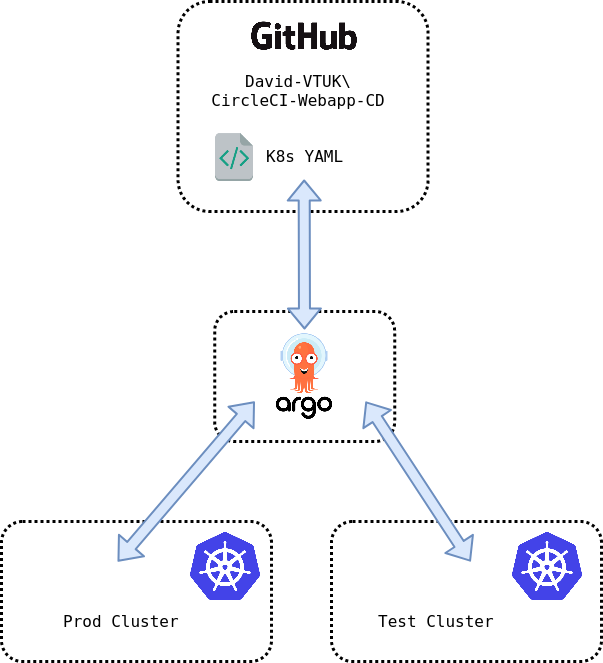
In this section, the following part of the overall CI/CD pipeline being implemented is depicted below.
ArgoCD will monitor for changes in the Webapp-CD Github Repo.
All changes are automatically applied to the Test cluster.
All changes will be staged for manual approval to Prod cluster
Install ArgoCD
ArgoCD has extensive installation documentation here. For ease, a community Helm chart has also been created.
Add Clusters to ArgoCD
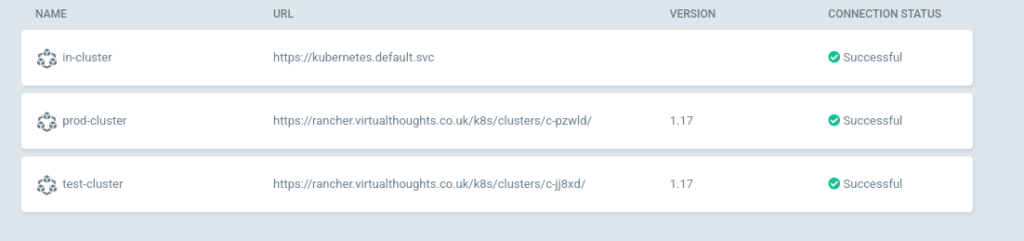
I’m using Rancher deployed clusters which require a bit of tweaking on the ArgoCD side. The following Gist outlines this well: https://gist.github.com/janeczku/b16154194f7f03f772645303af8e9f80. However, other clusters can be added with a argocd cluster add, which will leverage the current kubeconfig file. For this environment, both Prod and Test clusters were added.
If done correctly, the clusters should be visible in Settings > Clusters in the ArgoCD web UI and argocd cluster list in the CLI:
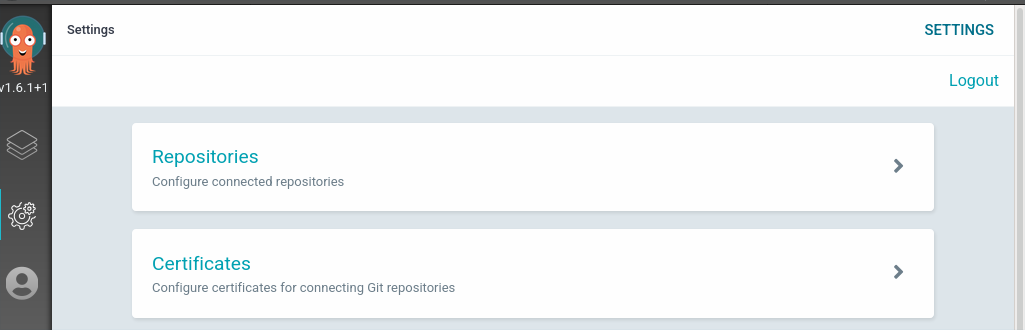
Add Repo to ArgoCD
In ArgoCD navigate to Settings > Repositories:
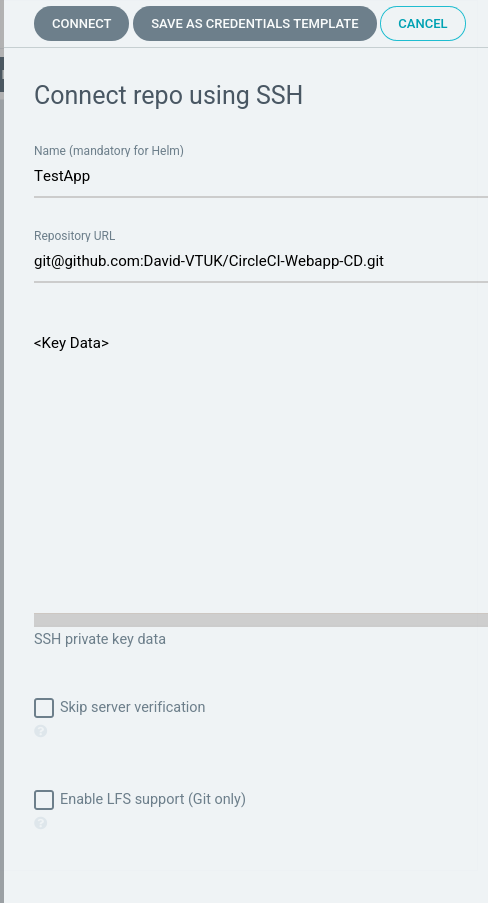
You can connect to a repo in one of two ways – SSH or HTTPS. Fill in the name URL and respective authentication parameters:
With all being well, it will be displayed:
Create ArgoCD Application
From the ArgoCD UI, select either New App or Create Application
Application Settings – General
Application Name: web-test Project: Default (For production environments a separate project would be created with specific resource requirements, but this will suffice to get started with.) Sync Policy: Automatic
Application Settings – Source
Repository URL: Select from dropdown Revision: Head Path: .
Application Settings – Destination
Cluster: Test Namespace: Default (This is used when the application does explicitly define a namespace to reside in).
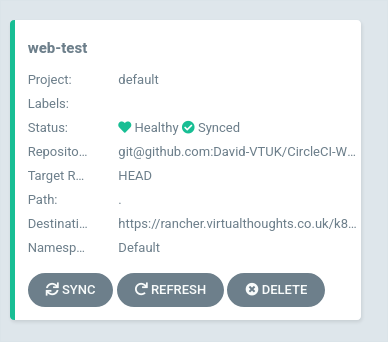
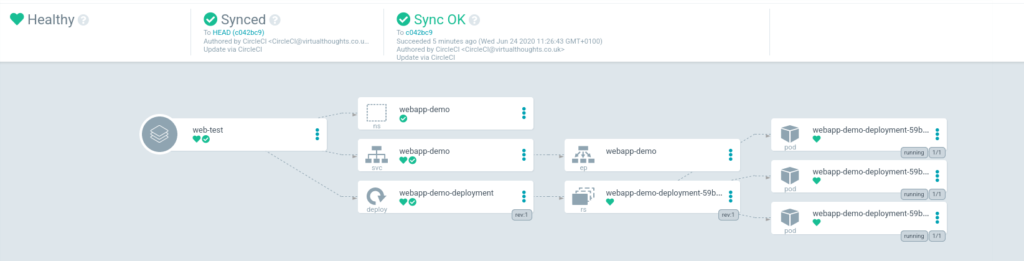
After which our application has been added:
Selecting the app will display its constituent parts
Repeat the create application process but substitute the following values:
Application Name : web-prod Sync Policy: Manual Cluster: Prod
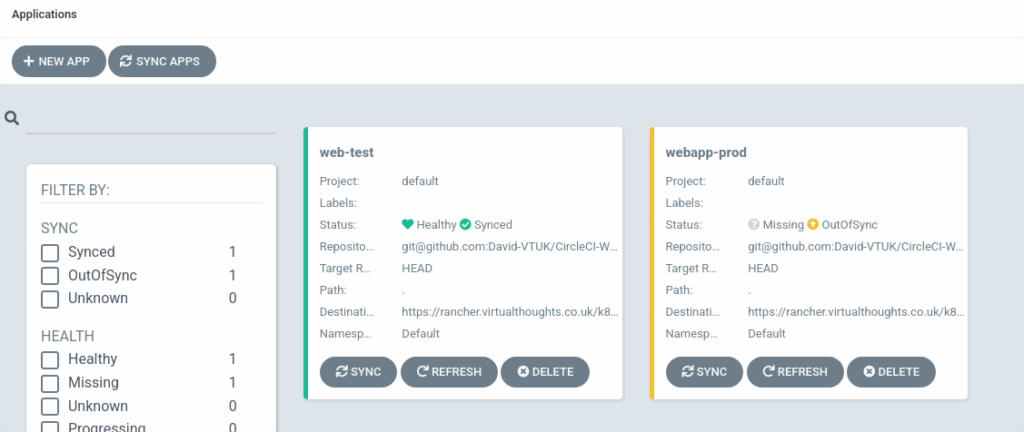
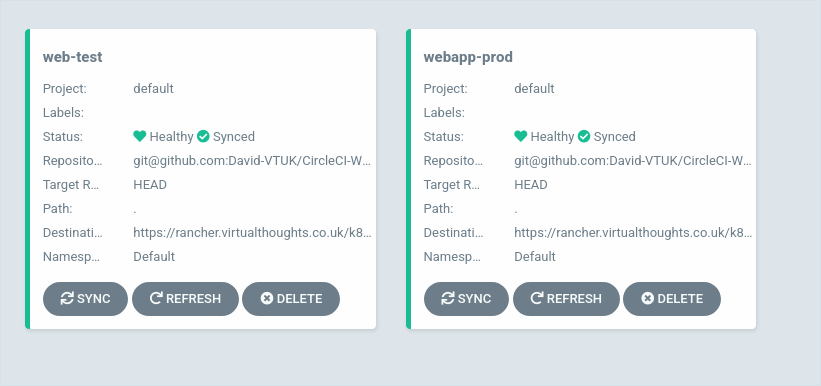
After which, both the prod and test applications will be shown
webapp-prod is noted as being OutOfSync – this is expected. In this environment, I don’t want changes to automatically propagate to prod, but only to test. Clicking “Sync” will rectify this:
Testing
Now everything is in place the following should occur during a new commit to the source code:
Automatically invoke CircleCI pipeline to Test, Build and Publish the application as a container to Dockerhub
Construct a YAML file using the aforementioned image
ArgoCD detects a change in the manifest and:
Applies it to Test immediately
Reports Prod is now out of sync.
As expected, changes to the source code have propagated into the Kubernetes clusters it is residing on.
CircleCI is a continuous integration technology that is capable of building extremely complex pipelines. Being cloud-hosted and offering a free tier makes it very easy to get up and running.
Sign Up and Set-Up
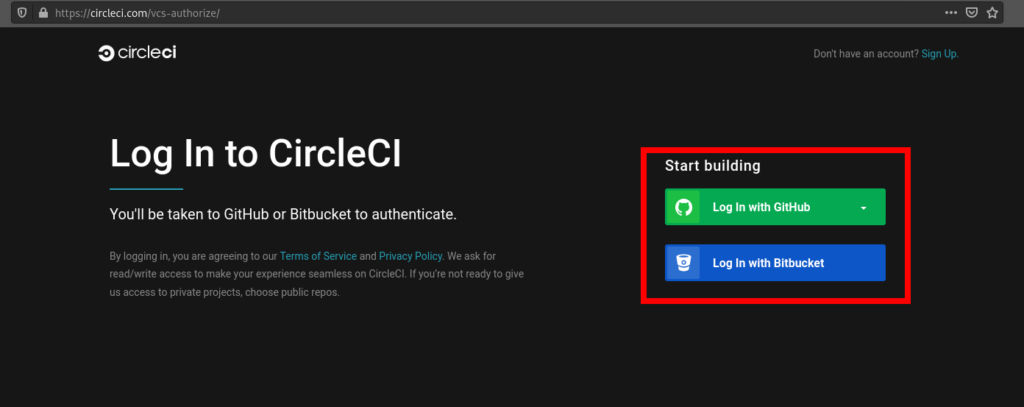
Simply navigate to CircleCI’s website and log in with either Github or Bitbucket.
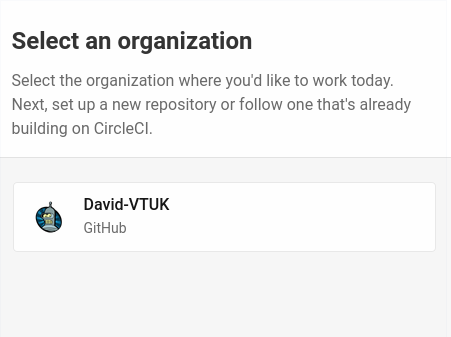
Select your org:
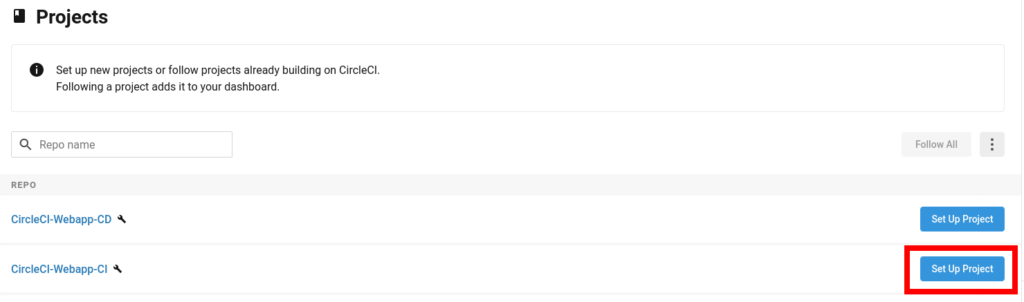
Select your project. For me, it’s CircleCI-Webapp-CI (Feel free to fork it or leverage your own)
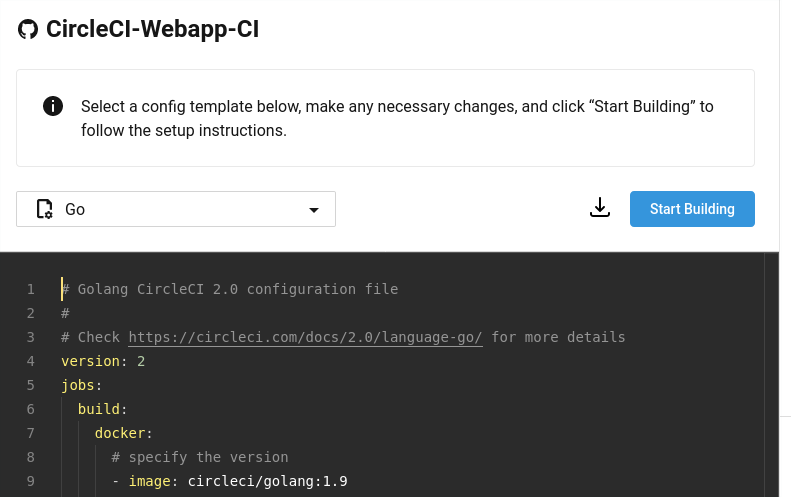
The next step is to create a CircleCI config file that will dictate the steps in the pipeline. CircleCI provides a template to work with:
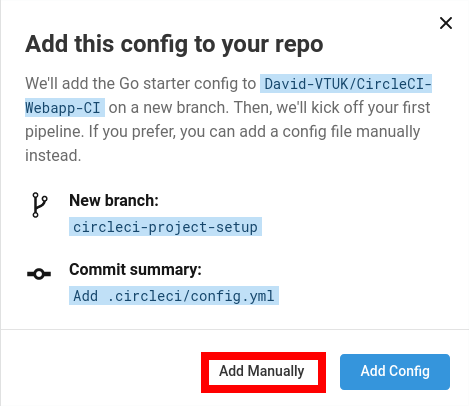
Clicking on “Start Building” will prompt you for two options. Either let CircleCI apply the starter config, or you can add one of your own. As I’ve already created one myself, I selected “Add Manually”
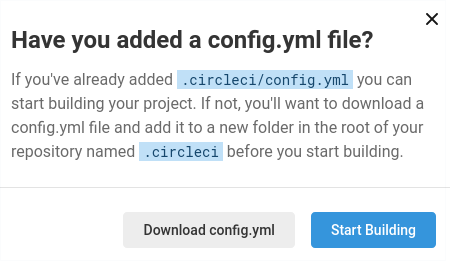
After which we’re prompted to create /.circleci/config.yaml in the respective GitHub repo.
Here we define the version of the CircleCI configuration file and in this pipeline, we configure Jobs. Jobs are a wrapper around a collection of Steps. Steps are a series of commands. In this example, we have:
Therefore, we have 4 jobs in this pipeline. Test, Build, Publish and GenerateYAML.
Test Job
jobs:
  Test:
    docker:
      - image: cimg/go:1.13
    steps:
      - checkout
      - run: go test -v ./...
In this test we’re defining it should run in a docker container, hence the docker declaration. In CircleCI, we can run jobs in either a VM or a Container.
As this application is written in Go, using the CircleCI image cimg/go is convenient as it will contain the dev tools we need, such as go test. main_test.go includes the test for this app.
Similarly to before, the first declaration is the docker image to use. Note: Each job in CircleCI runs it its own container or VM. Hence why we have to declare which image to use.
As this is using the cimg/go image, we have access to the dev tools to go get (Download application dependencies) and go build (Compiles). -o specifies the output. Here it will compile the application into an executable called webappdemo.
Workspaces are incredibly helpful in saving the output of a job to be used by others. As mentioned previously, Jobs run in their own container/VM, therefore once that job has finished, its data is gone, unless we save it as an artefact, or place it into a workspace. In this example, we’re saving the compiled application and the YAML manifest for the Kubernetes deployment – which is already present in the Github repo.
This job is responsible for generating a new docker image for our application with an appropriate tag. Dockerfile exists in the application repo and comprises of:
FROM ubuntu:20.10
RUN mkdir /app
COPY webappdemo /app/
WORKDIR /app
CMD ["/app/webappdemo"]
EXPOSE 80
setup_remote_docker creates a remote environment inside the existing container, which will be automatically used to configure it. Consequently, any docker commands will be used in this environment. This is required to build the docker image.
This job requires the output of the previous job, which was saved into the workspace. Therefore we attach the workspace to acquire the files.
      - attach_workspace:
          at: /tmp/workspace
This gives us access to the files we attached from the Build job.
We copy the application into the current directory and leverage one of CircleCI’s environment variables to generate the build number and construct the Docker image.
This image is then pushed to Dockerhub. To prevent sensitive information being present in config.yml, leverage CircleCI’s environment variables. (CircleCI > Project > Project Settings > Environment Variables).
GenerateYAML Job
jobs:
  GenerateYAML:
    docker:
      - image: cimg/base:2020.06
    steps:
      - attach_workspace:
          at: /tmp/workspace
      - run : |
          TAG=0.1.$CIRCLE_PREVIOUS_BUILD_NUM
          git clone https://github.com/David-VTUK/CircleCI-Webapp-CD /tmp/CircleCI-Webapp-CD
          cd /tmp/CircleCI-Webapp-CD
          cp /tmp/workspace/deployment.yaml .
          sed -i 's/\(circleci-webappdemo\)\(.*\)/\1:'$TAG'/' ./deployment.yaml
          git config credential.helper 'cache --timeout=120'
          git config user.email "CircleCI@virtualthoughts.co.uk"
          git config user.name "CircleCI"
          git add .
          git commit -m "Update via CircleCI"
          # Push quietly to prevent showing the token in log
          git push -q https://$GITHUB_PERSONAL_TOKEN@github.com/David-VTUK/CircleCI-Webapp-CD.git master
This job:
Clones the CD repo (This is what ArgoCD will monitor).
Retrieves the template deployment.yaml from the Workspace.
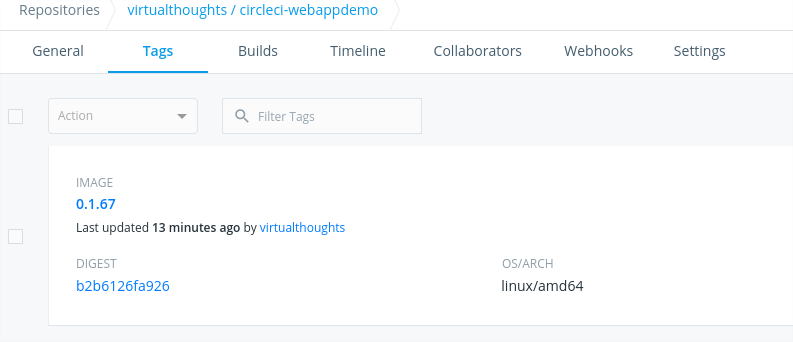
With the image tag of the Build process and consequently what has been tagged in Dockerhub.
Pushes this YAML file into a separate repo using the $GITHUB_PERSONAL_TOKEN environment variable.
Workflow
Workflows are a way to schedule Jobs. They aren’t required, but it helps to manage jobs and influence order, dependency and other characteristics. Additionally, breaking up a workflow can help with troubleshooting as a failed step relates to a specific Job.
This workflow sets the order for this pipeline. The first job is Test, followed by Build, Publish and GenerateYAML. Each of these jobs specifies a requires: field. So if a previous job fails, the entire workflow fails.
With this YAML file in place, “Start Building” can be selected:
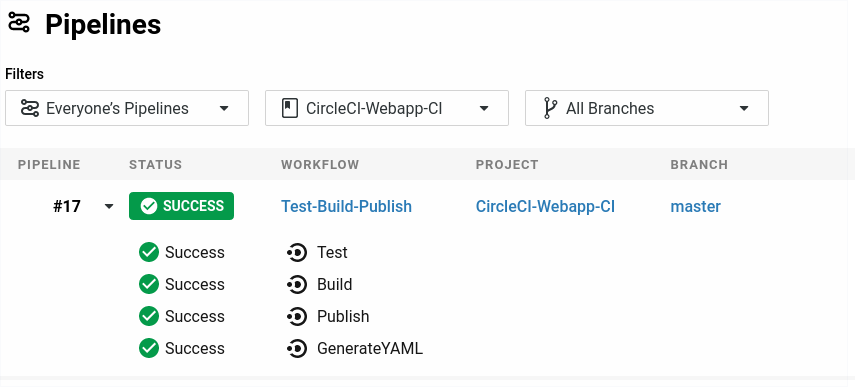
Any commit into this repo will trigger the defined pipeline. Which we can view in CircleCI:
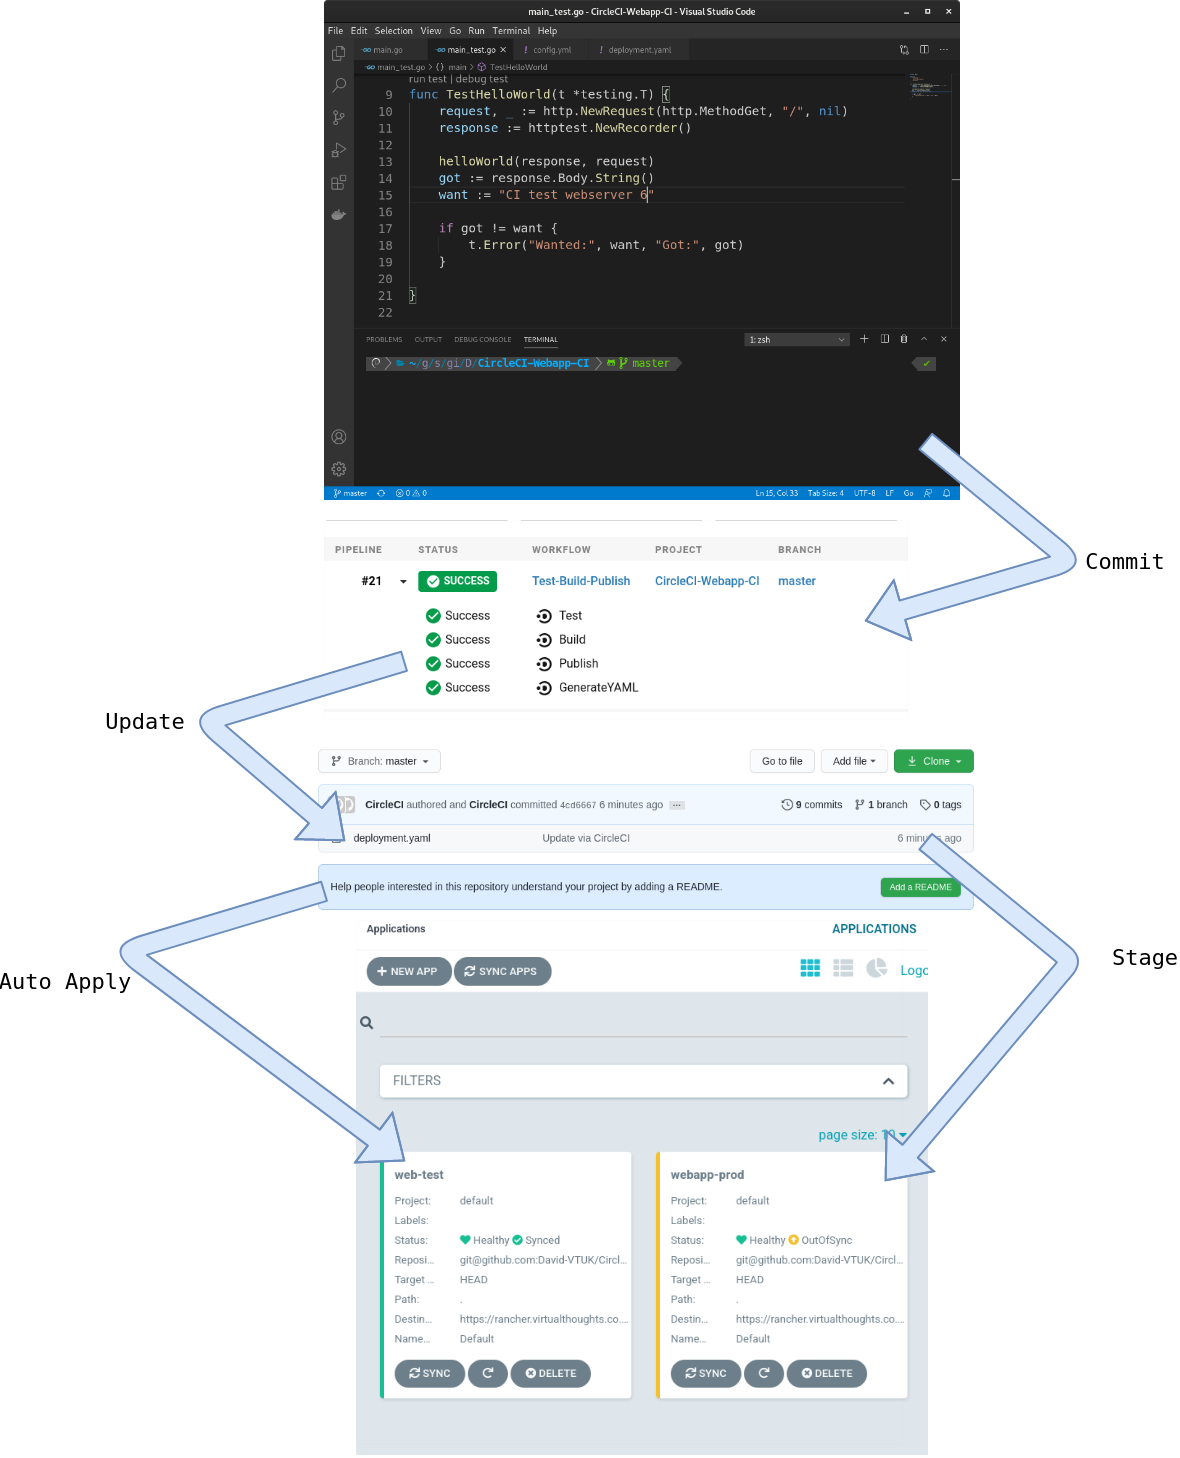
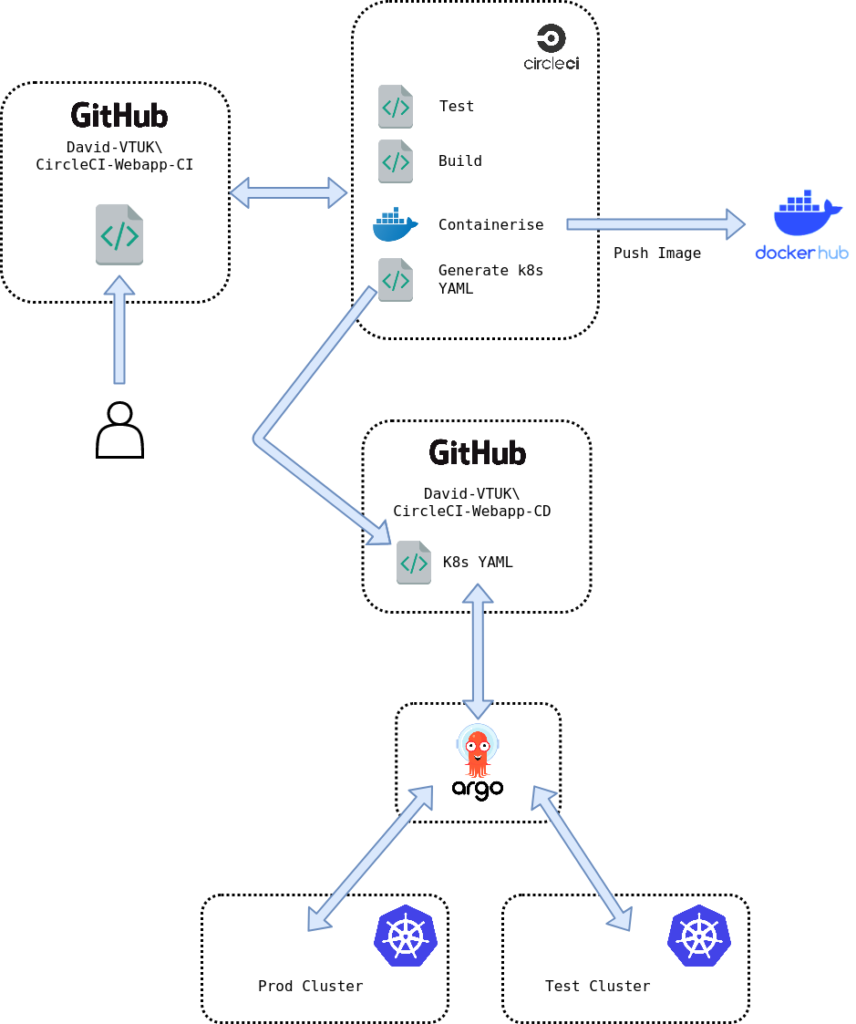
Part 1 of this 3 part series goes through the process of setting up a CI/CD pipeline leveraging CircleCI and ArgoCD. The overall architecture is depicted below:
CI/CD Delivery Pipeline
The steps that will be implemented/accommodated are:
Developer commits code to a GitHub repo that is monitored by CircleCI.
CircleCI will perform the following tasks on all commits into the master branch:
Test the code. In this example, we’re leveraging go test.
If Testing completes successfully, build (compile) the code.
If building the code completes successfully, construct a docker image to accommodate the service. Push this image to DockerHub
If creating the Docker Image completes successfully, construct a basic deployment YAML file including the tag of the image that was recently uploaded.
Commit the YAML file to a separate GitHub repo, monitored by ArgoCD.