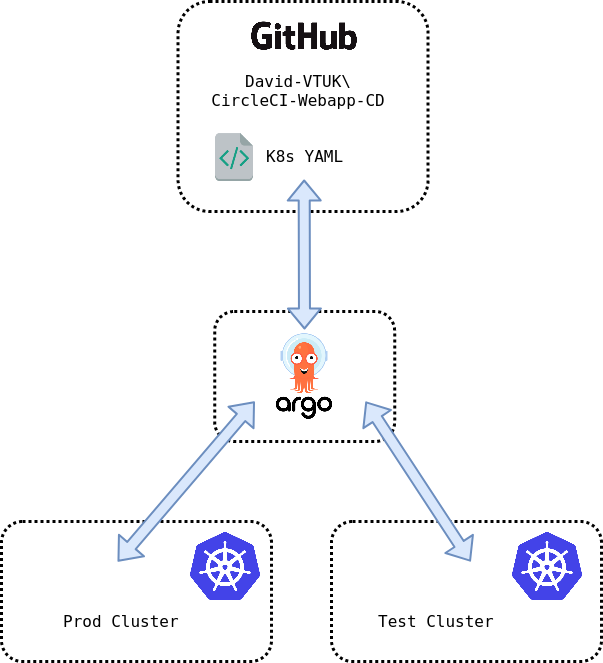
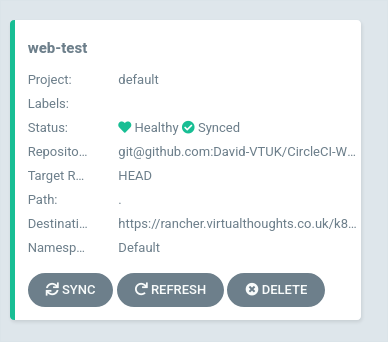
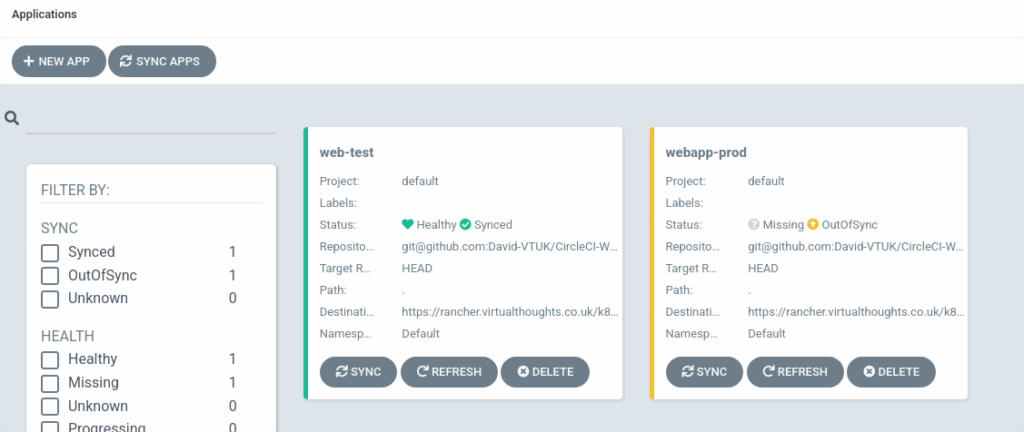
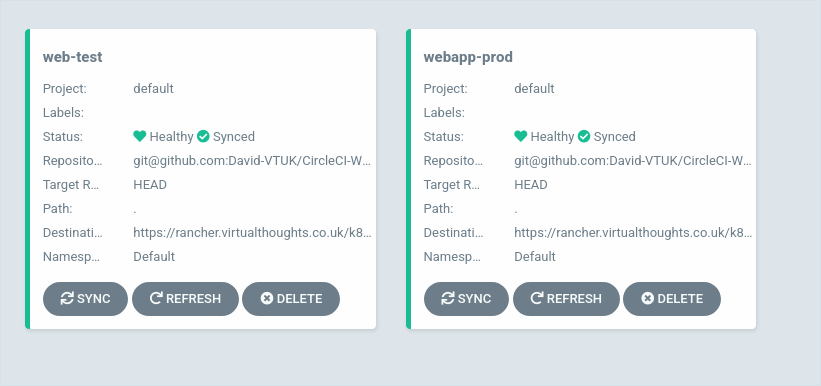
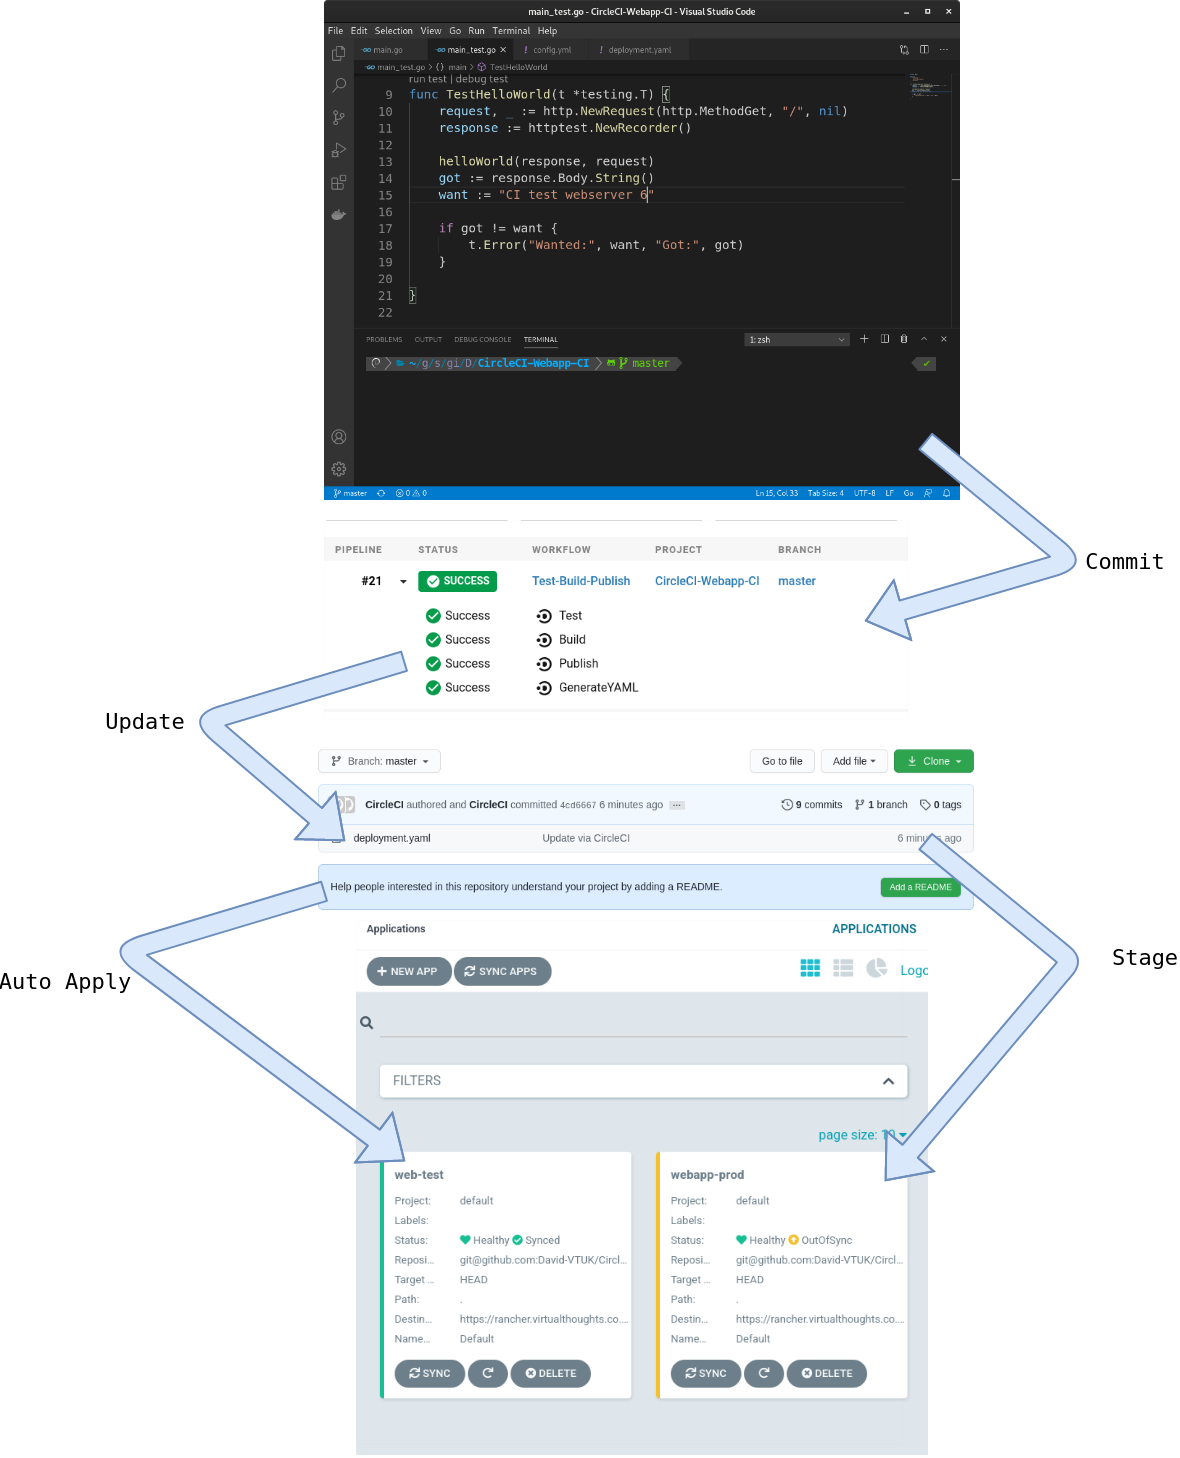
Part 1 of this 3 part series goes through the process of setting up a CI/CD pipeline leveraging CircleCI and ArgoCD. The overall architecture is depicted below:
The steps that will be implemented/accommodated are:
Developer commits code to a GitHub repo that is monitored by CircleCI.
CircleCI will perform the following tasks on all commits into the master branch:
Test the code. In this example, we’re leveraging go test.
If Testing completes successfully, build (compile) the code.
If building the code completes successfully, construct a docker image to accommodate the service. Push this image to DockerHub
If creating the Docker Image completes successfully, construct a basic deployment YAML file including the tag of the image that was recently uploaded.
Commit the YAML file to a separate GitHub repo, monitored by ArgoCD.
How networking configuration is applied to k8s nodes (or VM’s in general) in on-premises environments is usually achieved by one of two ways – DHCP or static. For some, DHCP is not a popular option and static addresses can be time-consuming to manage, particularly when there’s no IPAM feature in Rancher. In this blog post I go through how to leverage vSphere Network Protocol Profiles in conjunction with Rancher and Cloud-Init to reliably, and predictably apply static IP addresses to deployed nodes.
Create the vSphere Network Protocol Profile
Navigate to Datacenter > Configure > Network Protocol Profiles. and click “Add”.
Provide a name for the profile and assign it to one, or a number of port groups.
Next define the network parameters for this port group. The IP Pool and IP Pool Range are of particular importance here – we will use this pool of addresses to assign to our Rancher deployed K8s nodes.
After adding any other network configuration items the profile will be created and associated with the previously specified port group.
Create a cluster
In Rancher, navigate to Cluster Management > Create > vSphere
In the cloud-init config, we add a script to extrapolate the ovf environment that vSphere will provide via the Network Profile and configure the underlying OS. In this case, Ubuntu 22.04 using Netplan:
What took me a little while to figure out is the application of this feature is essentially a glorified transport mechanism for a bunch of key/value pairs – how they are leveraged is down to external scripting/tooling. VMTools will not do this magic for us.
Next, we configure the vApp portion of the cluster (how we consume the Network Protocol Profile:
the format is param:portgroup. ip:VDS-MGMT-DEFAULT will be an IP address from the pool we defined earlier – vSphere will take an IP out of the pool and assign it to each VM associated with this template. This can be validated from the UI:
What we essentially do with the cloud-init script is extract this and apply it as a configuration to the VM.
This could be seen as the best of both worlds – Leveraging vSphere Network Profiles for predictable IP assignment whilst avoiding DHCP and the need to implement many Node Templates in Rancher.
K3S is a lightweight Kubernetes distribution developed by Rancher Labs, perfect for Edge Computing use cases where compute resources may be somewhat limited. It supports x86_64, ARMv7, and ARM64 architectures.
Ok, why the Nvidia Nano?
Deploying Kubernetes, be it K8s, K3s or otherwise is fairly well documented on devices such as the Raspberry Pi, however, I wanted to have an attempt doing so on a Nano for the GPU capabilities, which might be beneficial with ML/AI workloads.
It’s crucial that as a minimum docker is updated, but updating everything by doing a sudo apt update && sudo apt upgrade -y is a good idea.
The reasoning behind upgrading Docker is as of 19.03 usage of nvidia-docker2 packages is deprecated since Nvidia GPUs are now natively supported as devices in the Docker runtime. The Jetson image comes pre-installed with Docker.
Step 3 – Check Docker and Set the Default Runtime
Inspect the Docker configuration for the available runtimes:
As a test, if we run a simple container to probe the GPU with the default runtime it will fail.
david@jetson:~$ sudo docker run -it jitteam/devicequery
./deviceQuery Starting...
CUDA Device Query (Runtime API) version (CUDART static linking)
cudaGetDeviceCount returned 35
-> CUDA driver version is insufficient for CUDA runtime version
Result = FAIL
This is expected. runc in its current state isn’t GPU-aware, or at least, not aware enough to natively integrate with Nvidia GPU’s, but the Nvidia runtime is. We can test this by specifying the --runtime flag in the Docker command:
david@jetson:~$ sudo docker run -it --runtime nvidia jitteam/devicequery
./deviceQuery Starting...
CUDA Device Query (Runtime API) version (CUDART static linking)
Detected 1 CUDA Capable device(s)
Device 0: "NVIDIA Tegra X1"
CUDA Driver Version / Runtime Version 10.0 / 10.0
CUDA Capability Major/Minor version number: 5.3
Total amount of global memory: 3964 MBytes (4156911616 bytes)
( 1) Multiprocessors, (128) CUDA Cores/MP: 128 CUDA Cores
GPU Max Clock rate: 922 MHz (0.92 GHz)
Memory Clock rate: 1600 Mhz
Memory Bus Width: 64-bit
L2 Cache Size: 262144 bytes
Next, modify /etc/docker/daemon.json to set “nvidia” as the default runtime:
This will negate the need to define --runtime for subsequent containers
Install K3s
Installing K3s is very easy, the only difference to make in this scenario is to leverage Docker as the container runtime, instead of containerd which can be done by specifying it as an argument:
curl -sfL https://get.k3s.io | INSTALL_K3S_EXEC="--docker" sh -s -
After K3s has done its thing, we can validate by:
david@jetson:~$ kubectl get no -o wide
NAME STATUS ROLES AGE VERSION INTERNAL-IP EXTERNAL-IP OS-IMAGE KERNEL-VERSION CONTAINER-RUNTIME
jetson Ready master 2d6h v1.17.3+k3s1 192.168.1.218 <none> Ubuntu 18.04.4 LTS 4.9.140-tegra docker://19.3.6
Deploying the previous container as a workload:
david@jetson:~$ kubectl run -i -t nvidia --image=jitteam/devicequery --restart=Never
./deviceQuery Starting...
CUDA Device Query (Runtime API) version (CUDART static linking)
Detected 1 CUDA Capable device(s)
Device 0: "NVIDIA Tegra X1"
CUDA Driver Version / Runtime Version 10.0 / 10.0
CUDA Capability Major/Minor version number: 5.3
Total amount of global memory: 3964 MBytes (4156911616 bytes)
( 1) Multiprocessors, (128) CUDA Cores/MP: 128 CUDA Cores
GPU Max Clock rate: 922 MHz (0.92 GHz)
Memory Clock rate: 1600 Mhz
Memory Bus Width: 64-bit
L2 Cache Size: 262144 bytes
Maximum Texture Dimension Size (x,y,z) 1D=(65536), 2D=(65536, 65536), 3D=(4096, 4096, 4096)
Maximum Layered 1D Texture Size, (num) layers 1D=(16384), 2048 layers
Maximum Layered 2D Texture Size, (num) layers 2D=(16384, 16384), 2048 layers